🤖 Guide: How to Build Your First OpenAI Agent

AI Unraveled: Latest AI News & Trends, GPT, ChatGPT, Gemini, Generative AI, LLMs, Prompting
Deep Dive
- Obtain OpenAI API key from account settings
- Treat API keys as passwords; maintain privacy
- Integrate API key into Google Colab notebook
Shownotes Transcript
All right. Welcome back to the Deep Dive. Hey there. We're jumping straight into something practical today, taking a close look at a specific tutorial. It's from the AI Unraveled Builder's Toolkit. That's right. Our source material for this Deep Dive is a video tutorial. It's titled How to Build Your First Etanigen.mp4. And this guy comes to us from Etienne Newman. He's introduced in the video as a senior software engineer and also a passionate soccer dad.
based in Calgary, Alberta, Canada. Yeah, it's always good to know the source. It really is. It's great to have such a specific, clear source to, you know, work from. Definitely makes our job easier, knowing exactly where the information is coming from. Absolutely. Now, before we dive right in, just a quick note for you listening. If you haven't checked it out yet, head over to JamGadTech.
you can get lifetime access to this whole builder's toolkit. Oh, right. Yeah, the source mentions they're adding new tutorials weekly, and each one includes detailed instructions, PDF, audio, video formats.
That sounds pretty comprehensive. Multiple ways to learn the material. Exactly. Sounds like a really solid resource for getting hands on. Valuable stuff. So, okay, our mission today. Yeah. We're going to unpack Etienne's tutorial. We'll walk through the process he shows for building a first open AI agent. Making it clear, making it accessible. Right. Based only on the steps and the details that he actually shows in this video source. And the tutorial, it demonstrates how to build a, well, a
a pretty simple AI agent using OpenAI services. Okay. Specifically within Google Colab, which, you know, is a popular platform, pretty accessible for running code. Okay, let's unpack this then. I'm really looking forward to getting into the practical side of things, you know? Yeah. Actually putting an agent together like he shows here. Yeah, me too. Building agents that can do stuff. Yeah. Feels like the next logical step in, well,
applying AI practically. And what's fascinating here is that by showing you how to build something functional, like this weather agent, the source immediately highlights the core idea behind a lot of agents. It's about giving the AI the ability to interact with external info or tools to do specific tasks. Right, right. Okay, let's follow the path Etienne lays out in the video.
The very first step he shows is setting up your OpenAI API keys. Yeah, this is kind of the crucial first gate you have to pass through. To use OpenAI's services programmatically, you know, from code like we're doing in Google Colab, and you need a way to identify yourself and your account. Right. The API key is that identification. Got it. And the process he demonstrates, it involves going into your OpenAI account settings. Mm-hmm.
Finding the API key section and then creating a new one. He actually shows giving it a name, which is always good practice. Definitely. He uses E3 in his example. And then selecting a default project if you happen to have one set up already. And the tutorial is really clear on this point. It emphasizes that these keys are like passwords. To grow important. Yeah. You have to keep them private. You absolutely don't want someone else using your key to access services on your account.
That could get expensive or, you know, cause other issues. Makes sense. So once the key is generated, the video then shows exactly where you need to put that key within the Google Colab notebook. Usually right near the beginning, yeah. So your code knows which credentials to use right from the start. Okay, so that's step one.
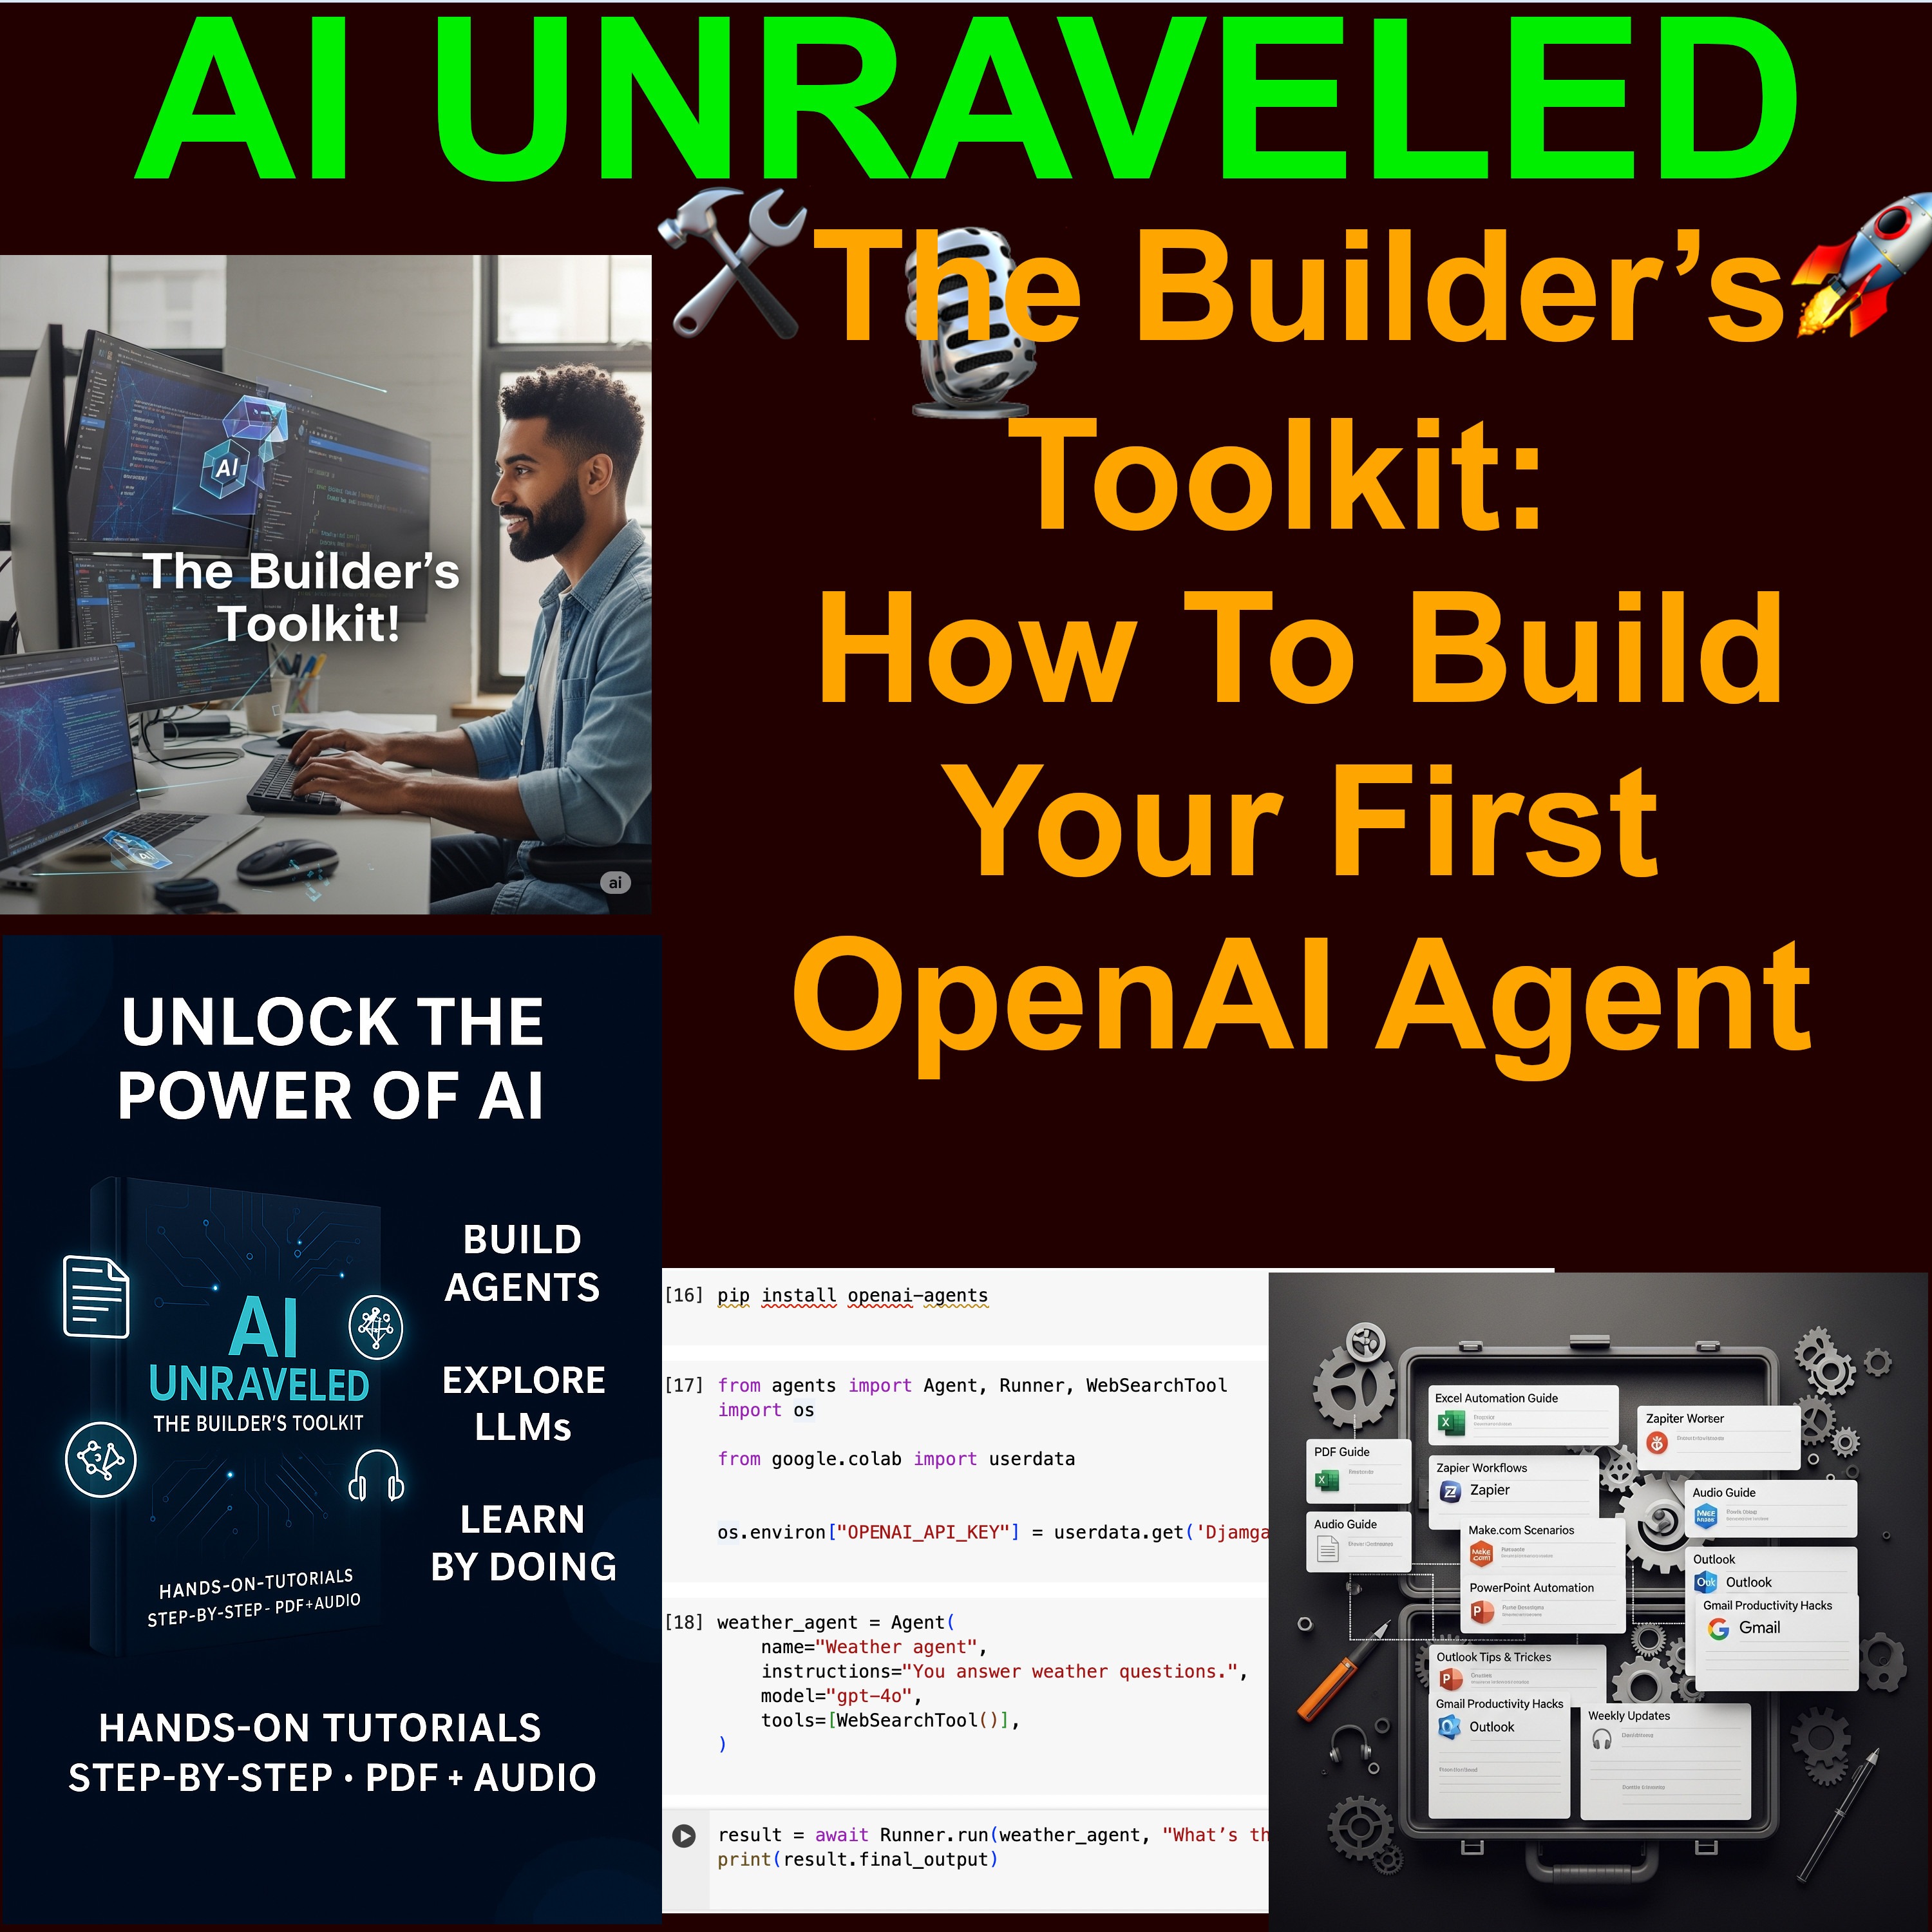
Get your keys sorted. Right. The next logical step after getting your credentials is making sure you have the right tools actually available in your coding environment. Oh, okay. So the tutorial shows installing a specific library. Exactly. He runs a code block in Google Colab and the command is pip install OpenAI agent. Yeah.
pip install. That's a standard way in Python to download and set up these pre-written code modules or libraries that other people have created. Right. So that command basically tells Google Colab, go fetch the OpenAI agent library, which has all the necessary code functions and structures to talk to OpenAI's agent tools easily. And when he runs it,
You see the Colab environment confirming it. Little checkmark appears. Yeah, success. The library is installed. It's ready to be used. And he also points out Colab's built-in feature to explain the code using AI, like
like Gemini. Oh, interesting. So you can understand what that pip install command actually did. Exactly. Handy feature. So, okay, you've got your key, you've installed the library. What's next to the video? The next code block shown in the tutorial focuses on, well, bringing those tools into your current session and linking them up with your API key. Okay, so activating them, kind of? Basically, yeah. This step uses import statements, which tell your Python code, oh,
okay, make the functions and classes from that OpenAI agent library I just installed available for me to use right now. Gotcha. And it also includes code to take the API key you entered earlier and initialize the library, sort of configure it to use that specific key when it talks to OpenAI. And he runs this block, and again, you see the confirmation, the checkmark. Right. Success again.
Library is imported, key initialized, meaning the agent building tools are now loaded and authenticated with your account. So the stage is set. Which brings us to the core action shown in the tutorial.
actually creating the agent instance itself. This is where the magic happens or where you define what kind of magic you want the agent to do, right? Exactly. The tutorial focuses on building a weather agent. Okay. And its goal as shown by how it's used later is for this agent to be able to fetch and tell you the weather for any city you ask it about. What's fascinating here is just how straightforward that creation step looks once the setup is done. It really is. You've prepped the environment, you've authenticated,
And now you basically tell the library, build me an agent. - Right. - The code block he runs likely includes some parameters defining its basic role or maybe its capabilities like being able to access weather info. - And running that code block confirms the agent object is created. Exists now, it's ready to go. - And he points out again, you can use that explain the code feature to understand how the agent is being created under the hood. - Good tip. All right, so you've set it up, you've created it. The final step shown in the tutorial is naturally putting the agent to the test.
This is where the theory meets reality. You got to see if it works. Exactly. The video shows querying the agent he just created with a specific request. It's, tell me the weather in New York City using my OpenAI region. A clear command. Yeah. But here's where it gets really interesting. Uh-oh. Almost immediately, the source shows an error message popping up. Uh-huh. Something like, doesn't like my key. Uh-huh.
Okay, so not perfectly smooth. Not perfectly smooth. And this raises an important question, really, about the practicalities of using these paid API services, doesn't it? It absolutely does. Even when you follow the steps, real-world issues can crop up. It's not always just code errors. Sometimes it's account stuff or connection things. Right. And the tutorial author, Etienne, he addresses this directly in the video.
He explains that the most likely cause for this specific error, given everything else looked okay, was that he might have run out of credit on his OpenAI account. He even notes the $10 limit he had. Which is a really valuable moment in a tutorial, actually. I thought so, too. Because it shows that development isn't always this clean, linear process. Troubleshooting is just part of the deal, a common part. Totally. And what's particularly interesting, maybe even a bit strange, is that
is that despite that key error being flagged, the video shows the agent still managed to provide the weather answer for New York City. Oh, okay. So it worked, despite the error message. Apparently. And then he proceeds to test it with other cities, Paris, his own city, Calgary, and confirms he received results for those queries too.
even with that key warning still sort of hanging there. Huh. That is odd. Maybe the error was intermittent or related to billing status, but not blocking the actual function call. Could be. He mentions it's sort of a minor issue he'll clean up later. Right. Which suggests the core agent logic itself, the part he built in the Colab notebook, probably worked fine. Yeah. But there was some hiccup with the API connection or maybe the credit status check at that exact moment. It doesn't really invalidate the process he showed for creating the agent. Exactly.
So looking back at the tutorial source,
The whole process Etienne demonstrates for building this first agent, it really breaks down into a clear logical flow. There's the four main steps, really. You set up your credentials, your API key. Prepare your coding environment, install the tools. Create the actual agent instance itself. And then test its functionality. See if it does the job. It's essentially that four-step journey from nothing to a working, albeit briefly glitchy, agent in his specific case. And
Drawing directly from the source material, we've walked through those practical steps, getting a basic OpenAI agent up and running using Google Colab and your API keys. And by following the specific example shown in the video, including that crucial troubleshooting moment, which I think is key. Yeah, that was useful. This deep dive really offers you, the listener, a direct path to understanding what those foundational steps actually look like in practice.
from getting your keys sorted all the way to seeing the agent respond to a query. And remember, this entire process, all these details, they're laid out in the tutorial video we've been discussing. It's part of the AI Unraveled Builders Toolkit. Right. And if you're feeling ready to follow along with Etienne's steps yourself or maybe explore other building projects,
head over to Jamgadtech. Where you can get that lifetime access. Exactly. Lifetime access to the toolkit. New tutorials added every week, apparently. All including detailed instructions, PDF, audio, and video formats. Just like this source we looked at. So it's really designed to give you that detailed guidance you need to move from just, you know, the concept to actually executing it. So what does this all mean then? What's the takeaway?
Maybe consider the lesson embedded in that troubleshooting moment we saw. Encountering errors like that API key issue, it isn't really a failure, is it? It's actually a fundamental part of the building process, often quite informative too. It really is. You learn a lot from fixing things that break. Totally.
And tutorials like this one, especially when they show you not just the perfect path, but also how someone reacts when things don't go exactly as planned. Yeah. That's essential, isn't it? For turning theoretical knowledge into actual working applications. Absolutely. That practical element, including the bumps, is crucial.
So maybe the final thought is, what stands out for you about seeing that little bit of real-world friction, that bump in the road right there in the middle of the demonstration? How important is seeing the troubleshooting, not just the success?